A Beginners Guide To Hangboarding
The profound ability to ‘hold small things’ is what distinguishes some of the world’s best climbers – along with excellent technique – from the rest. Often at times our fingers are the only thing holding us to the wall while climbing, so they can truly never be too strong. There seems to be a direct relationship between grades getting harder and holds getting smaller, and oftentimes finger strength (or lack of) can be a limiting factor for climbers.
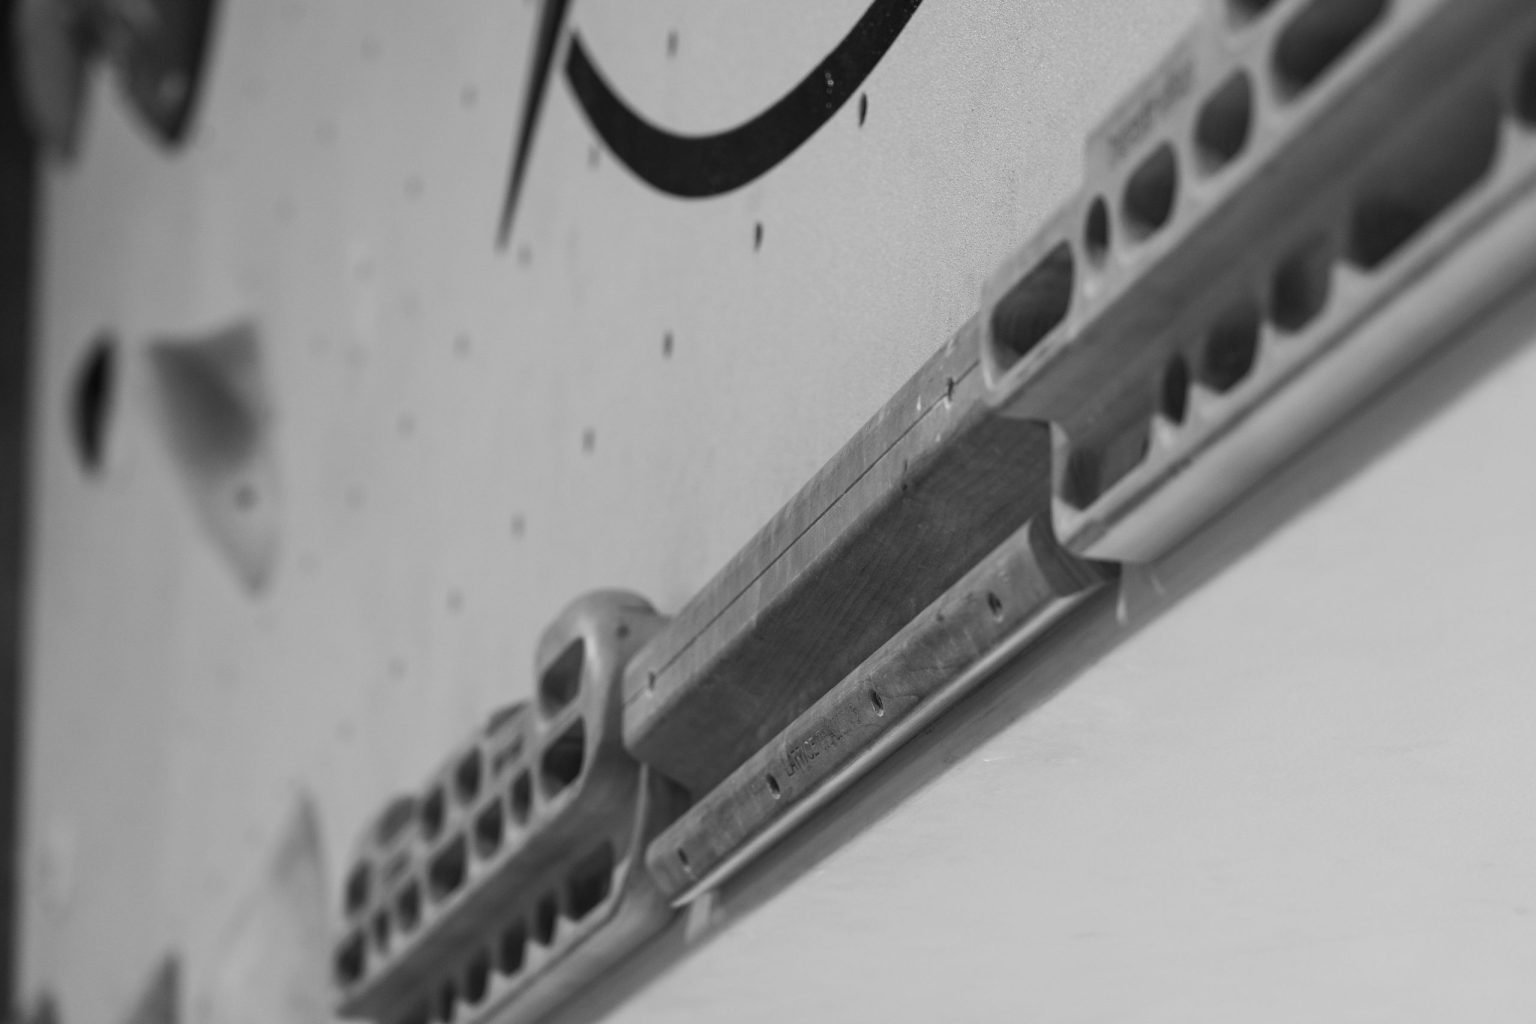
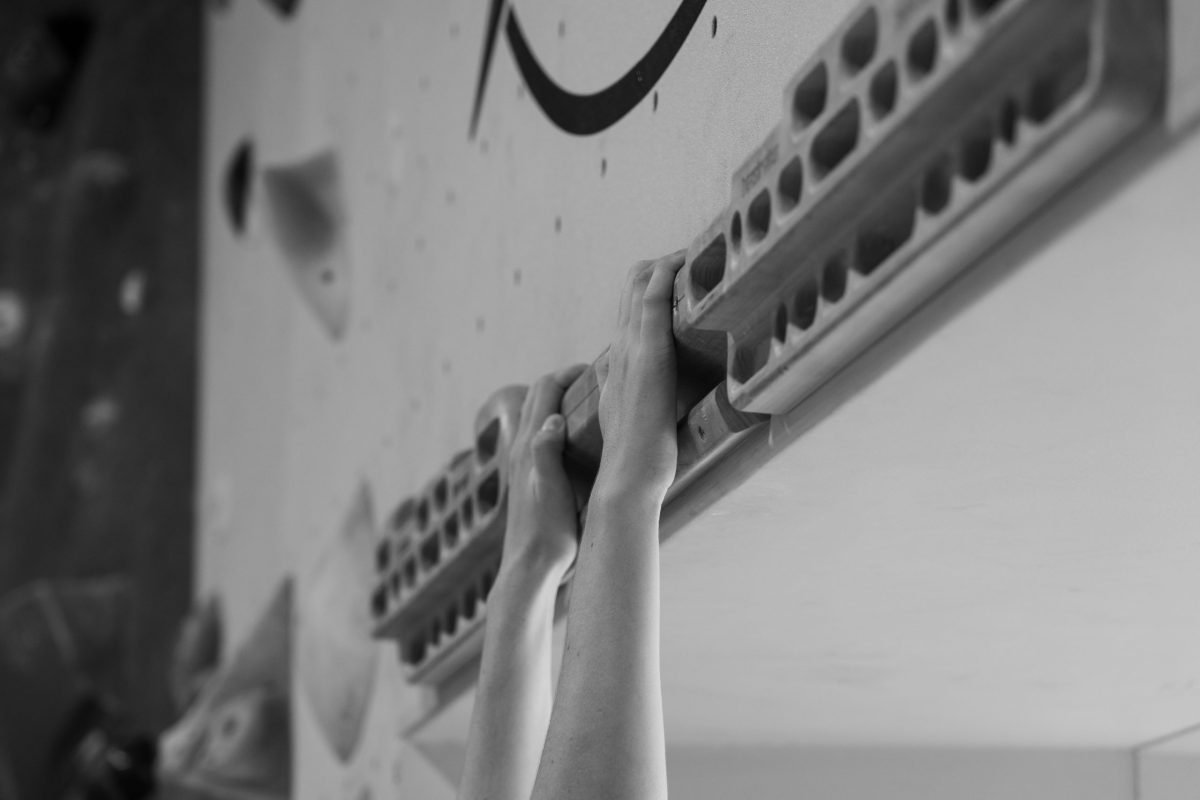
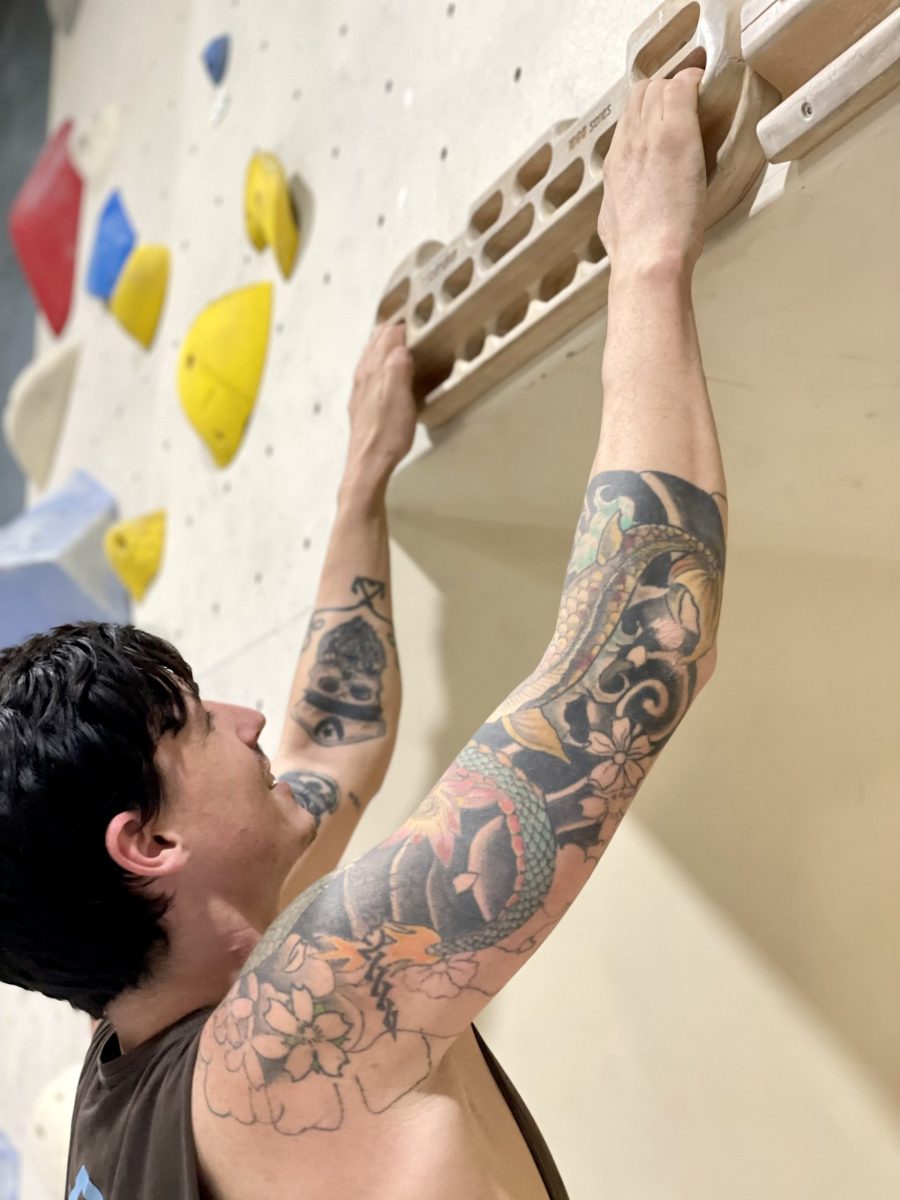
A controlled and effective way to build strong and healthy fingers is by using a ‘Hangboard’. A Hangboard, or Fingerboard, is a training device with several edges you can hang from to train grip-types and build finger strength. It should be noted that training with a Hangboard puts high-loads through the tendons and joints, thus we recommend easing in to Hangboard training to reduce risk of injury. In fact, for many climbers simply climbing will be more than enough to build strong fingers capable of latching tiny holds.
Obviously when beginning Hangboard training you may have a few questions, we certainly did. So we figured we would walk you through a step-by-step guide to training finger strength on a Hangboard.
How does Hangboarding strengthen the fingers?
Hangboarding seeks to recreate the unique forces our fingers encounter when climbing on various hold and grip types. Through progressive loading, stress and healing cycles the tendons and associated muscles of the finger and forearms become stronger.
General Rules for Hangboard Training
1. Warm Up
Prioritise warming up your fingers before Hangboarding, as this will decrease the chance of injury and allow you to pull harder. We recommend at least 15-30 minutes of easy climbing beforehand to ensure you are properly warmed-up.
2. Maintain Form
Form is everything when Hangboarding. Ensure your shoulders are engaged whilst hanging, and it also helps to add a slight bend in the elbows. Moreover, avoid the full-crimp position initially as this can be prone to injury.
3. Level of Load & Intensity
Start your Hangboard training very light and slowly build the intensity. Progressively building the load will prevent injury and let your body adapt to the unique stresses of Hangboarding.
4. Adequate Rest (tendons are slow)
Give your tendons adequate time to recover from a Hangboard set. We recommend spacing your sessions 2-3 days apart and completing no more than 2 sessions per week when starting out.
5. Injury Free
Always Hangboard with healthy and happy fingers unless you are using the Hangboard for a controlled recovery protocol. If your fingers, pulleys or tendons are feeling sore or achy don’t Hangboard, instead, let them recover.
A Simple Entry-Level Hangboard Protocol
by Cody Waldon
(Exercise Physiologist, ESSAM,
B. Exercise Science, G Dip. Exercise Science)
This session is to be completed on edges that you are able to hang on at body weight for 13-15 seconds BUT in the session you can only hang for programmed time. If you are unable to hang for 13-15 seconds, complete this with your feet on the ground and pull down on the edge like you are trying to complete a pull up for the same programmed duration.
All hangs are in a Half Crimp or Open Crimp position, and Slopers.
Rest between sets is 3-5 minutes.
| Week 1 | Week 2 | Week 3 | Week 4 | |
|---|---|---|---|---|
| Set 1 | – 10 sec hang – Body weight – 3 reps – 3 mins rest between reps Edge Side/Style – 30mm or biggest hangboard edge | – 10 sec hang – Body weight – 3 reps – 3 mins rest between reps Edge Side/Style – 30mm or biggest hangboard edge | – 10 sec hang – Body weight – 3 reps – 3 mins rest between reps Edge Side/Style – 30mm or biggest hangboard edge | – 10 sec hang – Body weight – 3 reps – 3 mins rest between reps Edge Side/Style – 30mm or biggest hangboard edge |
| Set 2 | – 10 sec hang – Body weight – 3 reps – 3 mins rest between reps Edge Side/Style – Smallest edge you can hang on for 13-15 secs | – 10 sec hang – Body weight – 3 reps – 3 mins rest between reps Edge Side/Style – Smallest edge you can hang on for 13-15 secs | – 10 sec hang – Body weight – 3 reps – 3 mins rest between reps Edge Side/Style – Smallest edge you can hang on for 13-15 secs | – 10 sec hang – Body weight – 3 reps – 3 mins rest between reps Edge Side/Style – Smallest edge you can hang on for 13-15 secs |
| Set 3 | x | – 7-10 secs hang – Body weight – 3 Reps – 3 mins rest between reps Edge Side/Style Sloper easiest | – 7-10 secs hang – Body weight – 3 Reps – 3 mins rest between reps Edge Side/Style Sloper easiest | – 7-10 secs hang – Body weight – 3 Reps – 3 mins rest between reps Edge Side/Style Sloper easiest |
If the hangs aren’t difficult, repeat extra sets.
Following this 4 weeks of Hangboarding, it is best to have 1-2 weeks with lower intensity which would mean hanging on the biggest edge but possibly hanging for longer duration (trying to hang for 25-30 seconds each hang). I would only recommend to do this on the jugs on the Hangboard or the biggest edge size.
With all this new information and little bit of motivation, you can start to build beastly strong fingers! Consistency is key, so be sure to plan your Hangboard training around your week – allowing for plenty of rest time. After 4-6 weeks of using this protocol we know you will see an improvement in your contact-strength. After this period though, you may want to specialise your Hangboarding to target specific grip-types and push your maximum strength.
For a more personalised look in to your current training, why not book in for a Climbing Assessment? Our Climbing Assessments are run by Cody Waldon (Exercise Physiologist) and focus on identifying your strengths and weaknesses on and off the wall to help you to achieve your goals.
The results will direct your training to work on your limitations, body movement, enhance climbing performance and see measurable improvements upon re-assessment. If you have any questions about our assessments, then please get in touch!