Warming Up For Rock Climbing
Tweaky fingers, achy muscles and not much sending, these are all indicators of not being “warmed up” for a climbing session. Indoors or out, the warm up phase of a climbing or training session is essential if you want to perform at your best and avoid injury. In its relaxed state the body simply isn’t ready for dynamic moves and tiny crimps, instead climbers should take the time to get the literal ‘blood pumping’.
Through prepping our body for exercise with a basic warm up routine we can rev the cardiovascular system which increases blood-flow and the elasticity of our tendons. For route climbers this is increasingly important, as warming up will reduce the effects of ‘flash pump’ in our forearms. When used consistently a warm up routine can also provide us the mental space needed to reset and focus before a session. The benefits are obvious, but many climbers are lost for how to structure their warm up to effectively kickstart their body. That is why we’ve developed an outline for what a climber’s warm up routine should look like.
5 Steps for a Basic Warm Up
1. Get Moving!
The first step to any warm up, regardless of the sport, is to raise body temperature and increase blood flow to muscles. To do this engage in 5 to 10 mins of aerobic exercise such as;
- Circuits on BeastMaker Wall
- Circuits on Scatter Wall
- Light Running
Start slow and gradually build the tempo. By the end of this exercise you should feel warm and your heart rate should have risen.
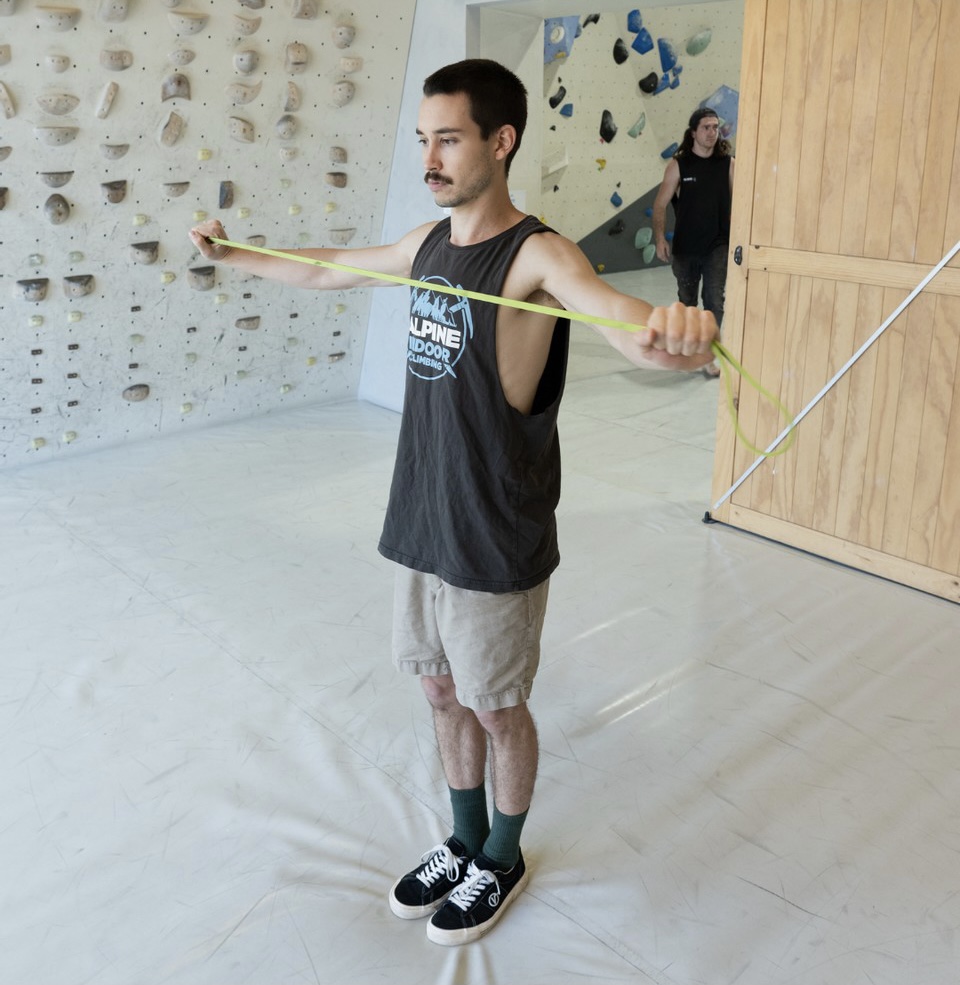
2. Dynamic Stretching
Once you are feeling warm it’s time to engage in some dynamic stretching. This type of stretching increases range of motion and prepares the body for movements on the wall. Unlike static stretching, dynamic stretching involves tightening the muscle and moving through an athlete’s full range of motion. The key is to target climbing-specific movements you may encounter within your session – essentially preparing the joints, muscles and tendons for these moves. It helps to focus in an individual area for each dynamic stretch.
- Shoulders (Arm Swings)
- Wrists (Wrist Rolls, Wrist Tendon Glides)
- Fingers (Tendon Glides, Finger Flicks)
- Chest (Wide-Arm Stretch, Across Body Reach, Shoulder-Blade Taps)
- Body (Body Rotation, Side Stretch)
- Hips (Hip Rotations)
- Knees (Lunges, Knee Rotations)
- Ankles (Ankle Rolls)
Obviously, every climber’s dynamic stretching routine will vary, but try to dial in on waking up the entire body and repeat it at the start of every session. A TheraBand is a great tool here for stretching and engaging muscles before climbing.
3. Wake Up the Pull Muscles
The next step is to begin engaging the ‘pull’ muscles we use while climbing. A great way to do this is by hanging on a bar or jugs for a long duration, with engaged shoulders and slightly bent elbows. Generally 12 seconds is enough to begin activating the muscles and promote blood flow to the forearms. Rest for a short period (~5 seconds) and repeat 2-3 times.
It’s also important to activate the entire shoulder bridle before we climb, so try to sneak in some scapula pull ups. If you’re feeling warm enough, now is a great time to do 3-5 slow and controlled pulls up to prime the shoulders and elbows.
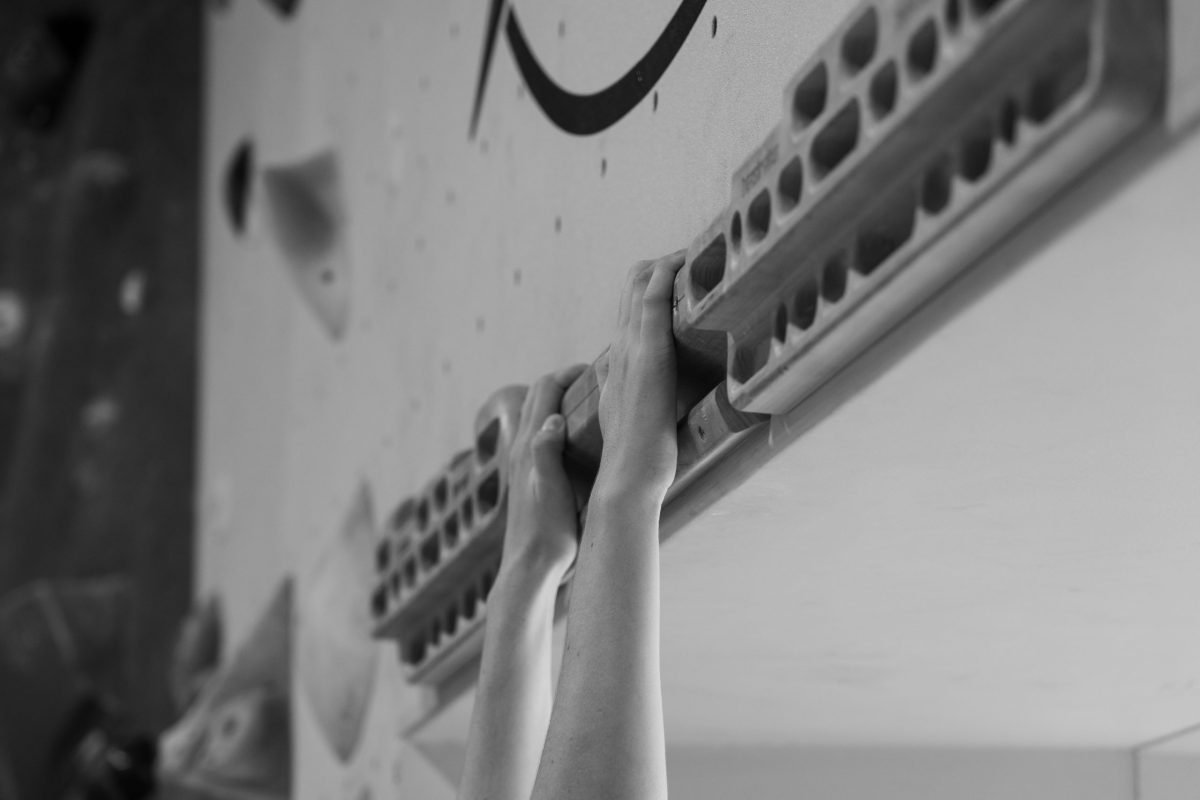
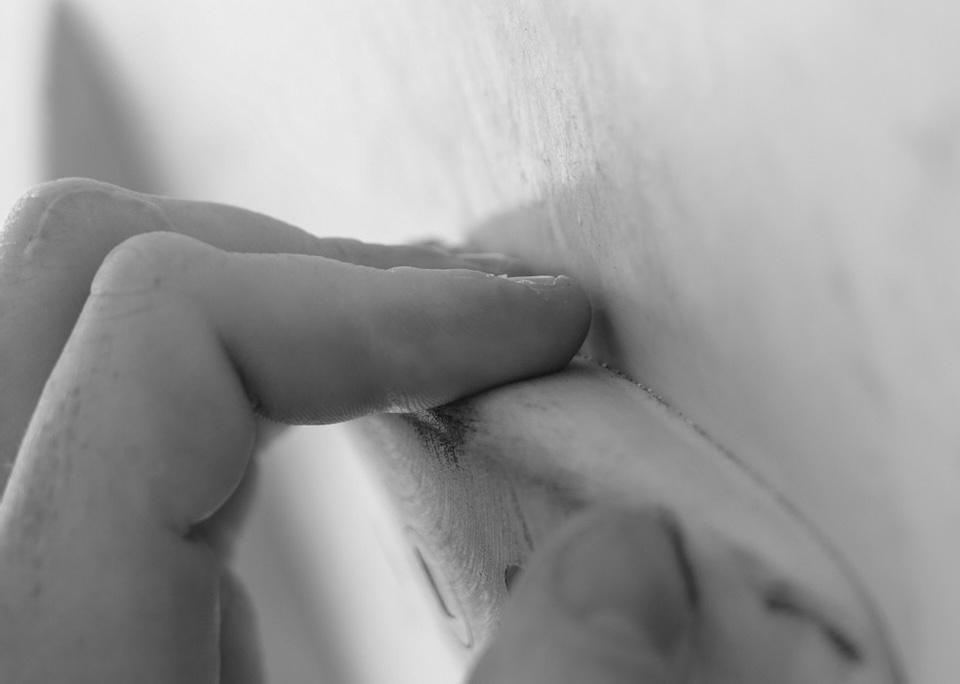
4. Good Morning, Phalanges!
After this, it’s time to focus on warming up the most important component of climbing – our fingers! The tendons in our fingers and forearms need to be gradually loaded before a session to increase their elasticity and length – in turn lowering our chance of injury.
The key is to start on large edges and hang for a comfortable period (7-10 seconds is good), then rest and downsize. The idea isn’t to set a new personal best, instead take it slow and try not to tire your forearms. Once your fingers feel warm and loose it’s time to start climbing!
More recently, climbers have been implementing slow recruitment pulls to warm up and train their fingers. Simply grip an edge with one (or two hands) and slowly build the intensity at which you grip from 0% to 90%, then gradually decrease. The whole process should take 3-5 seconds, pausing momentarily at peak load, and switching hands between attempts.
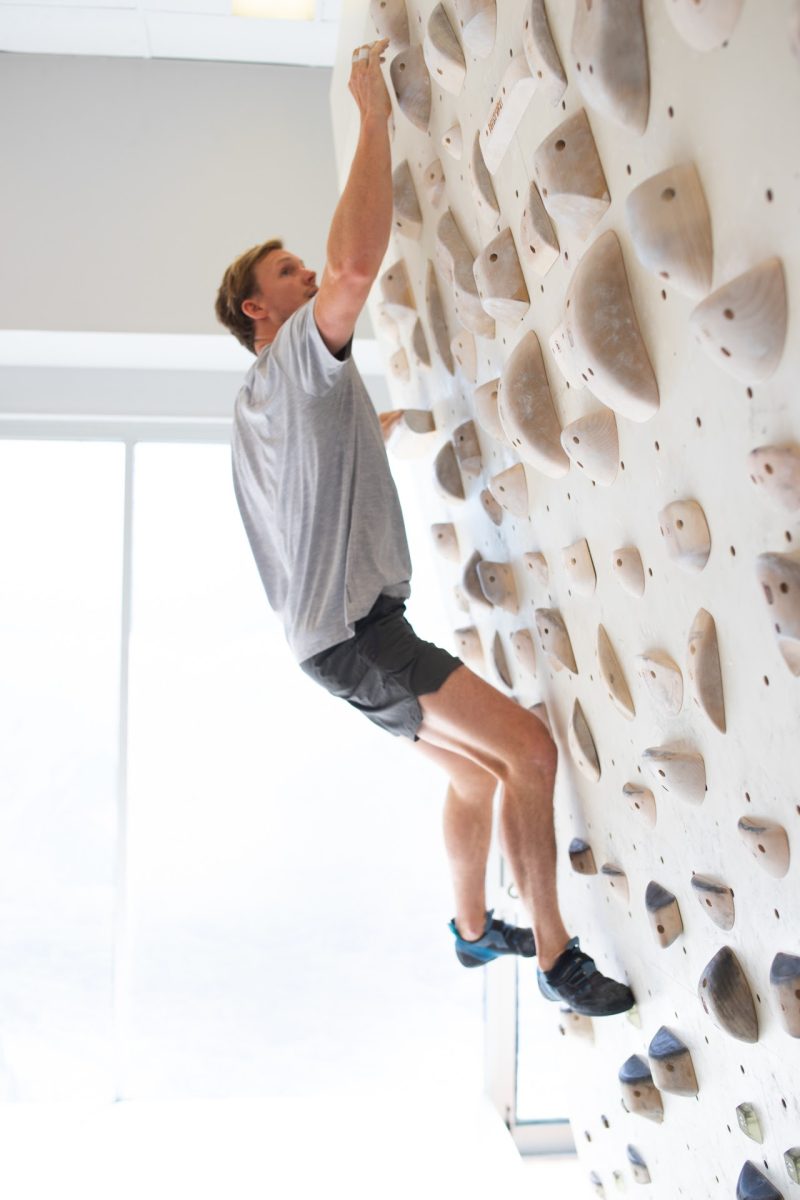
5. Build the Difficulty
Finally, you get to climb! But don’t go throwing down on your project just yet, there is still one last step to warming up for hard climbing. The next phase involves climbing high volumes of problems at easy/moderate grades. This will do two things;
- Continue to warm the entire body up for on-the-wall movements, and
- It helps to build cognitive skills and technique at the same time.
The simplest way to do this is by completing a very basic climbing pyramid, in which you slowly build the intensity of climbing. To do this climb 2-3 easy climbs, then select 2-3 climbs that are a grade harder, continue to do this until you reach your near-limit grade. This will guarantee you are warm and switched on for harder climbing.
Alternatively, you could complete 10-15 minutes of Arc Training on a spray wall or circuit board. Arc Training is generally used to build local endurance, but it is also an effective way to warm up for harder climbing sessions. It involves climbing on extremely easy (no more than 30% of max.) for an extended period of time (>10 mins). At no point should you feel pumped. If you do, hop off the wall and shake out then continue. This exercise is guaranteed to warm you up whilst conserving energy for projects or training sessions.
The key to warming up properly and performing at your maximum, is activating muscles but not tiring them. Therefore, it’s essential you don’t rush your warm up – instead take the time to sense when your body feels warm and limber before entering into a session. Once you integrate a warm up routine into your session, you’ll realise it’s importance in ensuring climbers can perform at peak levels. So whether you’re rocking up at the crag or check-in at the gym, slice some time out for a warm up – your body will thank you!
Remember, your body is your own! If you are unsure of anything in this article or have an underlying injury or health concern, please consult a specialist for specific and detailed advice.